

When Windows freezes, an app closes unexpectedly, or an update fails, the timing can be more useful than the error message alone. How to use Reliability Monitor is a practical skill for spotting patterns: the tool lays notable system events out by date so you can see what happened before a problem began.
Reliability Monitor won’t diagnose every cause or repair a computer by itself. It can, however, point you toward a failed application, driver, update, or hardware-related event worth investigating. Here’s how to open the report, interpret its timeline, and use the details without mistaking a clue for a confirmed diagnosis.
How to use Reliability Monitor in Windows
Reliability Monitor is a Windows utility that presents system stability information as a history. It’s available on many Windows 10 and Windows 11 PCs, though the events shown depend on what Windows and installed programs report.
- Open the Start menu and type View reliability history.
- Select the matching Control Panel result. If search doesn’t find it, press Windows key + R, enter perfmon /rel, and press Enter.
- Wait for the report to load. It may take a moment to collect and arrange the history.
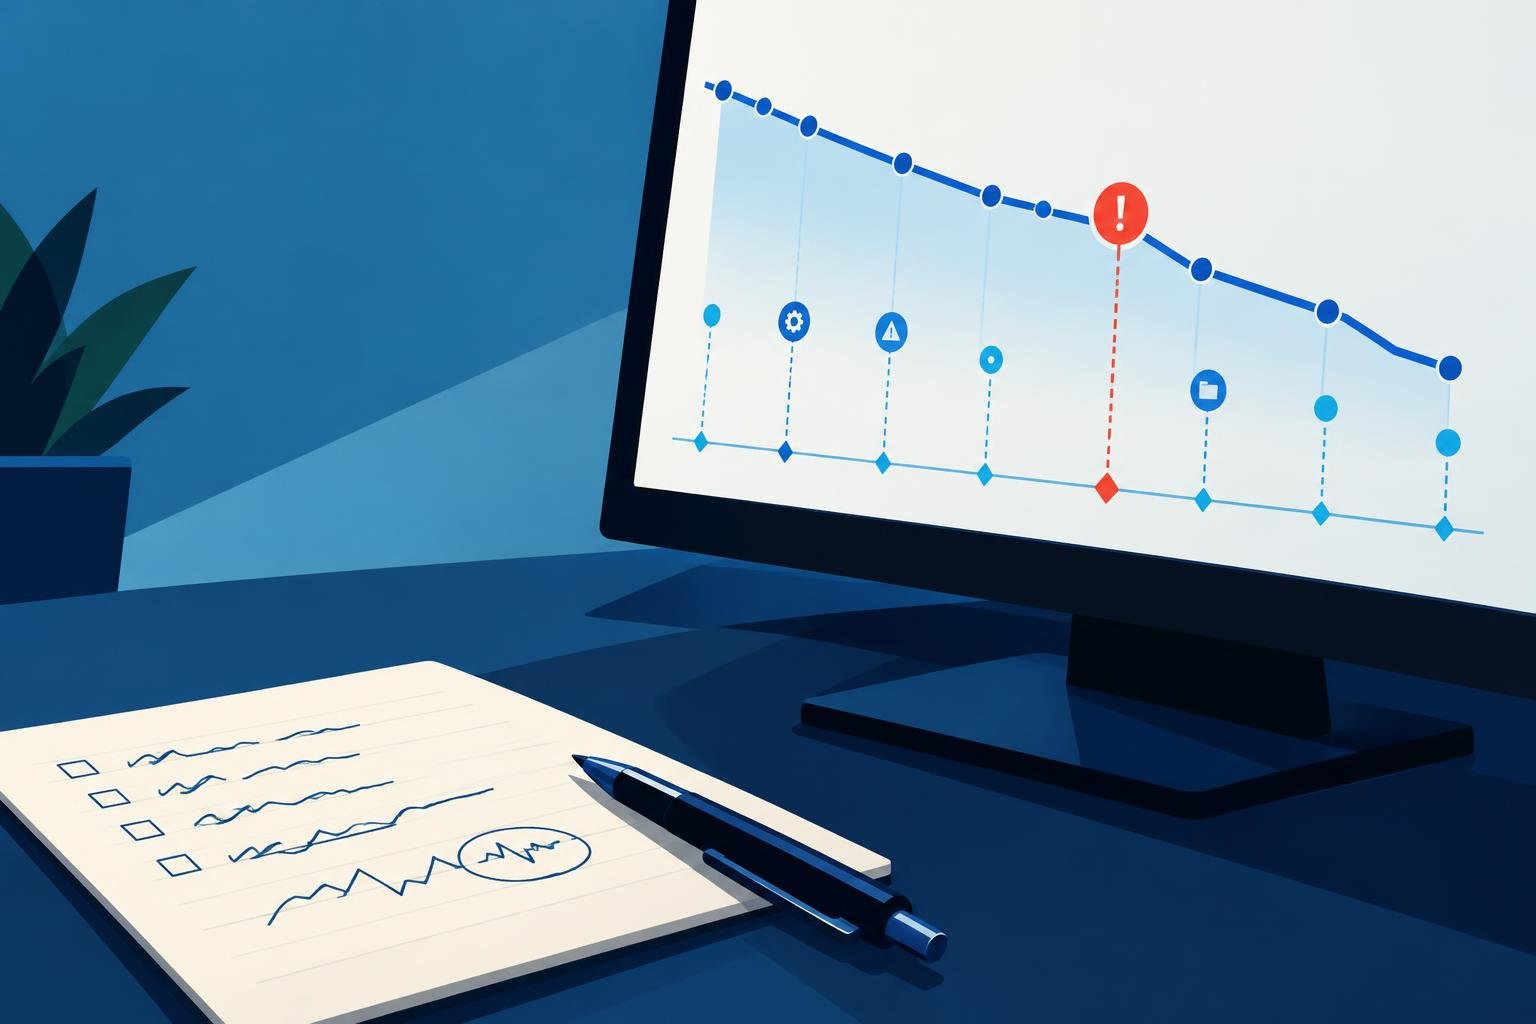
The main view shows a timeline, typically arranged by day, with a stability index and event markers. Select a day to see its recorded events in the lower pane. You can also select View by weeks or View by days to change the level of detail, then use the arrows beside the chart to move through earlier periods.
To inspect an event, select its marker or entry. Choose View technical details when available to see information such as the program name, failure type, or a report identifier. The labels vary by event, and some reports contain very little detail.
Read the timeline before changing anything
Reliability Monitor uses a stability index from 1 to 10 to summarize system stability over time. A lower score indicates more reported problems in that period. Treat the score as an overview, not a grade for your PC: a single event can affect the display, and the number doesn’t explain why something failed.
Event markers provide the useful context. Common entries include:
- Application failures: A program stopped responding or closed unexpectedly.
- Windows failures: Windows encountered an issue, such as an unexpected shutdown.
- Hardware errors: A component or driver may have reported a problem. The event details determine what’s actually known.
- Software installations and removals: These can include applications, drivers, and updates.
- Other failures: Windows may group reports that don’t fit neatly into the other categories.
Red circles with an X usually identify critical events, while yellow warning icons and blue information icons distinguish other entries. Don’t focus on color alone. Read the event name, date, and technical details, then compare them with what you experienced.
For example, a game crash on the same afternoon you noticed the game closing is a relevant lead. A Windows update listed on that date may also be worth checking, but its presence doesn’t prove it caused the crash. Reliability Monitor records events near one another; it doesn’t establish cause and effect.
Find the event that matches your problem
Start with the date and time you noticed the issue. Select that day, then look for an event that matches the symptom: an application failure for a program that closed, or a Windows failure around an unexpected restart. If you’re unsure when the problem started, scan backward from the first day you remember it happening.
Check whether the same event appears more than once. Repeated failures involving one application are a stronger troubleshooting lead than several unrelated entries scattered across the timeline. Likewise, if the same problem began immediately after a driver or software change, compare the installation date with the first matching failure.
Use the event’s technical details to record the exact application or component name. A report might identify a program file, a module, or a problem signature. That information can help you search the application’s own support materials or explain the issue to an IT technician. A module name alone rarely proves that the named file is defective; it’s one clue among several.
When the timeline includes a Windows update, note its name and date. You can then check the Windows Update history in Settings to confirm what was installed. Don’t uninstall updates solely because they appear near a crash. First confirm that the timing and symptoms match, and consider whether the issue continues after a restart.
Turn a report into a safe troubleshooting step
After identifying a plausible match, make one small, reversible change at a time. That makes it easier to tell whether the change helped. Your next step will depend on the event:
- One application keeps failing: Restart the PC, install the program’s available update, and check whether the issue still occurs. If it began after an app update, consult the developer’s troubleshooting guidance before removing or reinstalling the program.
- A problem follows a driver change: Note the device and driver version, then look for an appropriate update from the device or PC manufacturer. Avoid installing drivers from unfamiliar download sites.
- Windows shows an unexpected shutdown: Compare the timestamp with what happened in the room. A power loss, forced shutdown, or crash can produce similar entries. The report may record the event without explaining the underlying cause.
- An update repeatedly fails: Record the update name or code, restart once, and check Windows Update again. If the failure continues, use the code to find the relevant Microsoft troubleshooting steps.
Before removing files, changing drivers, or trying a major repair, make sure important data is backed up. If you need a built-in way to keep copies of personal files, see our guide to setting up Windows File History and restoring files.
After a change, use the PC normally and reopen Reliability Monitor to see whether a similar event returns. Some reports don’t appear immediately, and the history may take time to reflect a new incident. Keep a simple note of the date, symptom, and action you tried; it’s more reliable than trying to remember which change happened first.
Know when to check another Windows tool
Reliability Monitor is a useful starting point, but its summaries can be brief. When you need more detail, use the event’s name or timestamp to check Event Viewer. Press Windows key + X and select Event Viewer, then look in Windows Logs for relevant entries around the same time. Event Viewer can contain more technical information, but it also includes routine entries that aren’t problems. Match the time and source carefully rather than treating every warning as a fault.
For a blue-screen crash, record the stop code shown on the screen if possible. Reliability Monitor may list a Windows failure, but the stop code and other diagnostic information can provide a more specific lead. If the computer repeatedly restarts, won’t boot normally, or reports errors across unrelated components, consider getting qualified technical help instead of making several changes at once.
Also remember that the tool can’t show events that Windows or an application didn’t report. An empty timeline doesn’t guarantee that the system is problem-free, and a red marker doesn’t automatically mean a component needs replacement. Use it to narrow the question: what failed, when did it happen, and what changed nearby?
Use the history as a troubleshooting record
Reliability Monitor works best when you compare its timeline with real symptoms. Open the report after a crash or failed update, inspect the matching date, and note any repeated event or recent change. Then test one sensible step and check whether the failure returns.
That measured approach helps separate a recurring problem from unrelated background noise. The timeline won’t fix Windows for you, but it can turn a vague complaint into a more focused investigation.