

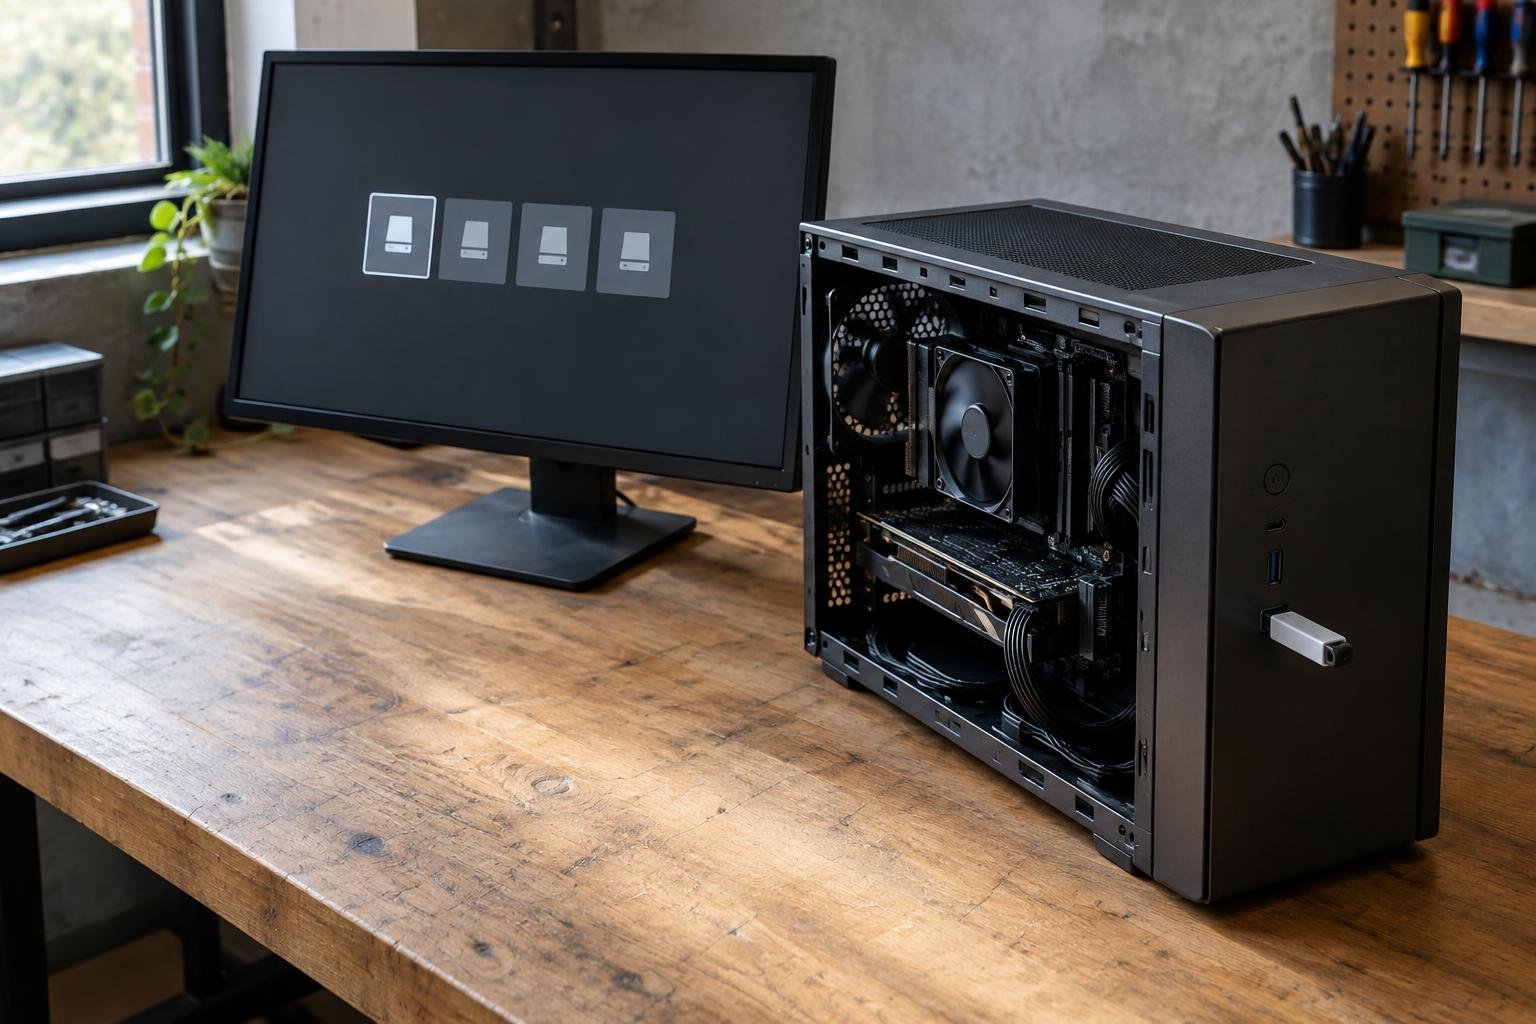
A Linux installer on a USB drive lets you try a distribution, install it, or troubleshoot a computer that won’t start. To create a bootable USB drive, you’ll need a Linux ISO file, a suitable flash drive, and an imaging tool. The process is straightforward, but writing the image usually erases everything already on the drive.
These steps work with most mainstream Linux distributions. Menu names and hardware requirements can vary, so check the instructions for your chosen distribution and computer as you go.
What you need before you start
- A USB flash drive: Check the distribution’s requirements. At least 8 GB is a common starting point, though some images need more space.
- The Linux ISO: Download it from the distribution’s official website. Choose a version and computer architecture that suit your plans and hardware.
- An imaging tool: Rufus is a popular choice for Windows. balenaEtcher offers a guided interface on supported desktop systems, and some Linux desktops include their own imaging tools.
- Access to the boot menu: You may need a keyboard connected directly to the computer and the startup menu key for your computer’s manufacturer and model.
Copy any important files off the USB drive first. Writing an image replaces its contents, so your existing files won’t remain in a separate folder.
Choose and check the Linux ISO
An ISO is a disk image, not a regular installer file. Download it from the Linux project’s official website, and avoid third-party download pages that could provide an altered or outdated copy. If the project offers multiple editions, review the hardware requirements before choosing one.
Some projects publish a checksum, such as a SHA-256 value, for each download. Comparing your ISO’s checksum with the project’s published value can help confirm that the file downloaded correctly and matches the file the project provides. Follow the project’s instructions to calculate the checksum on your operating system. Compare the values carefully: even one different character means they don’t match.
A matching checksum confirms that the ISO matches the checksum you selected. For a sensible check, get both the ISO and its verification information from the official project.
How to create a bootable USB drive
An imaging application is the easiest method for many users. Although labels vary between tools, the main steps are the same: choose the ISO, select the USB drive, confirm the target, and write the image.
Using Rufus on Windows
- Connect the USB drive and close any File Explorer windows that are using it.
- Open Rufus and check the device name and capacity. If several removable drives are connected, disconnect the ones you won’t use.
- Select the Linux ISO as the boot selection. Rufus may display additional options after you choose the image.
- Keep the suggested settings unless the distribution’s instructions or your computer’s boot requirements call for a change. The partition scheme and target-system options can affect which computers start from the drive.
- Start writing the image and read the confirmation carefully. Make sure it identifies the USB drive you intend to erase.
- Wait for the process to finish, then safely eject the drive.
If Rufus asks whether to write the image in ISO mode or DD mode, check the distribution’s guidance. If it doesn’t specify a mode, the tool’s recommended option is a reasonable first choice. Change only the settings you need, which makes problems easier to diagnose.
Using balenaEtcher
- Open Etcher and select the Linux ISO you downloaded.
- Choose the USB drive and confirm its displayed name and capacity. Take extra care if other external storage is connected.
- Start the write and confirm the warning that the selected drive will be erased.
- Wait for Etcher to finish writing and validating the image, if validation is available.
- Eject the drive through your operating system before unplugging it.
Don’t drag the ISO file onto the USB drive as if it were a document. That copies the image file but usually doesn’t create the structure needed to start a computer. An imaging tool writes the image contents in the required format.
Start the computer from the USB drive
Leave the USB installer connected and restart the target computer. During startup, open the one-time boot menu. The key depends on the manufacturer and model. Common options include F12, F11, and Esc, but there’s no universal key. Check the computer maker’s documentation if you’re unsure. Some systems briefly show the key on the startup screen.
Choose the USB device from the boot list. It might appear by its brand name, as a generic USB device, or with a UEFI label. If the same drive appears twice, select the entry that matches the computer’s boot mode and the distribution’s instructions. For a computer configured to use UEFI, the UEFI entry is generally the appropriate choice.
The Linux menu may offer a live session, an installation option, or both. A live session runs Linux from the USB drive, letting you inspect basic hardware and try the desktop without installing it. An installer can make permanent changes to internal storage. Read disk and partition choices carefully, and back up your files before changing partitions. Don’t proceed unless you understand which disk will be changed.
Fix common boot and writing problems
The USB drive doesn’t appear in the boot menu
Try another USB port, preferably one connected directly to the computer rather than through a hub. Restart and open the boot menu again. If the drive still doesn’t appear, rewrite the image and confirm that the process completed without errors. Some computers also have a firmware setting that controls USB booting. Check the computer’s documentation before changing it.
The computer skips the USB and starts its usual system
The boot menu selection may not have registered, or the computer may have started before you pressed the menu key. Try again and choose the USB entry explicitly. If the computer returns to its usual operating system, check that the image was written to the USB drive rather than copied as a regular file.
The installer shows a black screen or stops loading
Wait briefly, then restart and try a different startup option if the distribution provides one. Some installer menus include compatibility or safe-graphics options for hardware that has trouble with default display settings. You can also download the ISO again, verify its checksum, and write it to a different USB drive.
The writing tool reports an error
Check that the USB drive has enough capacity and isn’t being used by another application. If the error repeats, try another port or flash drive. Formatting the drive first usually isn’t necessary because the imaging tool replaces its contents. If the tool can’t access the drive, close any file browser window displaying it and consult the tool’s troubleshooting instructions.
After the USB installer works
Use the installer only as long as needed. If you don’t want the computer to start from it again, shut down and remove the USB drive. Files saved only during a live session may disappear when the computer restarts, so copy anything you need to another location first.
Before a new installation, identify the target disk and understand the installer’s options before confirming changes. A bootable USB drive doesn’t protect existing files from an installation mistake. Keep a separate backup of anything you want to preserve.